Improving my home network
The hardware provided by my ISP was not sufficient anymore, so I installed some Ubiquiti hardware. Here are my thoughs and mistakes
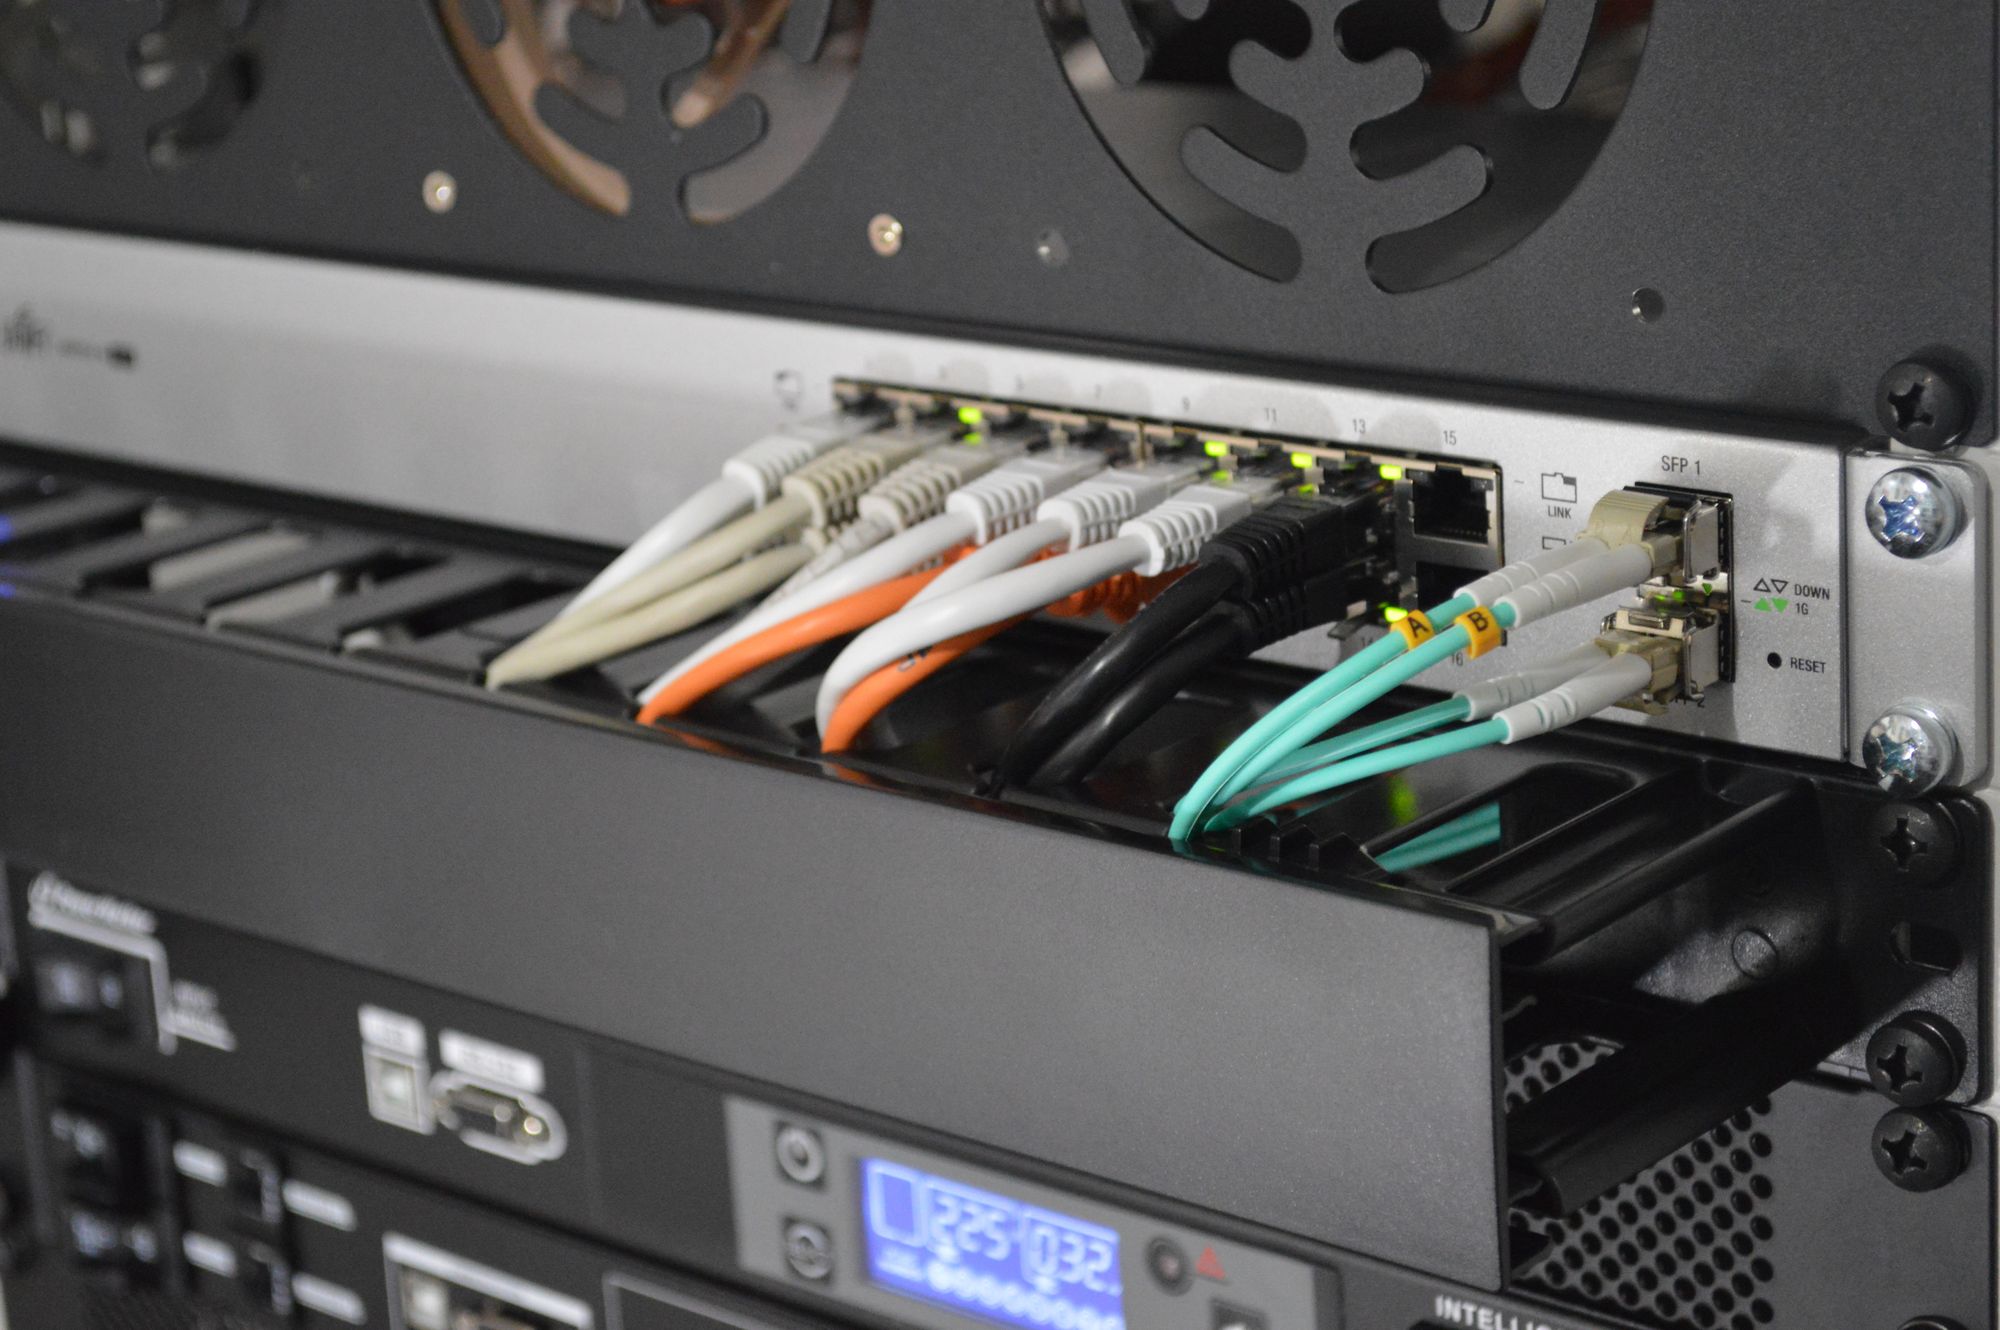
Featured image from Thomas Jensen @ Unsplash: https://unsplash.com/photos/ISG-rUel0Uw.
Sometimes your standard ISP hardware is not enough. For a long time I though that I did not need any fancy network equipment but I recently changed my mind because of the accumulation of "little" issues.
Some problems got in my way as my home network was growing:
- The WiFi antenna of my box has trouble to cover my TV space because of concrete walls,
- Some IoT devices connected via WiFi don't work over 5 GHz and have some limitations on the length of the WiFi key (I know... Internet of Shit),
- When I make some experimentation on a network-connected device, I always have a Raspberry Pi available but the setup always takes a little time (check my article on this),
- I have the possibility, with my ISP's box, to broadcast on demand a guest WiFi connection but it implies to turn off the dual band WiFi,
- I have several use cases for my network and I'd like to have a clear isolation between them,
- I have isolation transformers on my electrical panel. As they filter out high frequencies, PLC do not work between my office and the living room. So that's not a valid option to get over the poor WiFi connection.
I decided, based on what I saw on the Internet, to give a try to Ubiquiti UniFi products.
Hardware choice
The hardware I chose has several advantages:
- The WiFi AP supports up to 4 BSSID in dual band
- The switch is manageable, provides PoE and supports 802.1q
- The Security Gateway allows to implement isolation between LANs
- All of that is automagically updated via Ubiquiti UniFi (self-hosted) and is easily manageable
First of all, I already made a mistake even before installing the new hardware. I overlooked the fact that Ubiquiti has 2 lines of of products that do not magically interact. Therefore, the list below has an error.
So I ordered the following items:
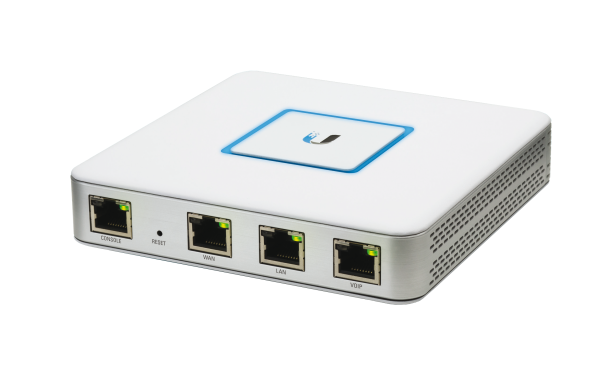
- Ubiquiti UniFi Security Gateway
- Ubiquiti EdgeSwitch 5XP (don’t order this one if you want a single point of configuration as it is not manageable with the UniFi Controller)
- Ubiquiti UAP-AC-LR
If I had to redo this today, I would rather take the Ubiquiti UniFi US-8-60W switch as it can be managed with Unifi Controller and also features everything I have on my current switch (and even a bit more).
But in the end, the EdgeSwitch is totally usable given the fact that it has its own management interface. That would not have been the case with the access point (I can't stress this enough: the UniFi Access Point is only manageable via UniFi Controller).
If you do not have a server already set to host UniFi Controller, I would recommend either to buy Ubiquiti’s UniFi Cloud Key or to install it on a small single board computer like a Raspberry Pi. It worked great for me on a spare Raspberry Pi 3B+.
Device configuration
Well, there’s nothing much to say, apart that everything is orchestrated by UniFi Controller quite automagically.
First, like I said, my switch is not manageable from the controller. So I had to configure it by hand. I have to say that it is pretty straightforward as you just have to connect to a web interface using the management port and set a static IP, as no DHCP server is running on the console interface. The interface itself is self-explanatory if you have a basic networking background.
So I just configured the port mapping on the switch with VLANs and 2 trunks: one for the traffic between the Switch and the USG and one, with PoE, to the WiFi access point.
After that, I just installed Ubiquiti’s UniFi Controller on a Raspberry Pi (following this guide). Just pay attention to the JDK version to install as the software has not yet been updated to support the latest versions of Java. I since moved it to a server I installed recently but that is another story.
Once the controller software is installed, everything is once again straightforward. Go to the controller IP address and connect with HTTPS to the port 8443. Let the software guide you.
When you end the installation, you can adopt your devices that are on the network. And when that is done, you should be able to configure everything from the settings menu.
For the most part, the network configuration is easy for someone who has already some network knowledge. But there are a few caveats that were, at least for me, not so obvious:
- WiFi networks must be linked to an existing VLAN, which requires you to create these before creating your SSIDs. As I wanted to distinguish my wired LAN and my WLAN, I created specific networks,
- The IPv6 configuration is not so easy, partly because I have less knowledge in IPv6 compared to IPv4. But this is still a project and I will make a follow-up on this subject (besides, I really need to know more about IPv6 as the IPv4 address space is exhausted),
- I had trouble when trying to install a custom certificate for the HTTPS controller interface and settled the issue by using a nginx reverse proxy. Not the most elegant solution but there is no slowdown observable, so I think this is good enough for me. And I must confess that this is quite an unusual requirement for a personal installation.
However, for the most part everything went completely fine, which never has been the case when I tried to install networks before (you said what? That I have a networking degree? Nah! You must be kidding).
A note though on the firewall as this is maybe not really obvious, especially when you compare it to other commercially available solutions.
I feel that USG’s firewall configuration works a bit like iptables in the spirit. There are several “chains” (IN, OUT, LOCAL) for several objects (LANs, WAN, GUEST).
Each USG-connected network will fall in one of the categories LAN, WAN, GUEST depending on how you configure it. Each of these networks will have a different set of rules applied depending on the category it is in.
Each set of rules is divided in 3 “chains” (at least this is how I call them):
- IN: the incoming traffic
- OUT: the outgoing traffic
- LOCAL: the traffic going to the interfaces of the USG themselves.
This is something to keep in mind when creating rules. A more detailed explanation is specified here.

By default, the rule applied is an accept rule. So take the time to identify your network streams to add a deny all rule safely at the end of the relevant sets of rules.
That’s all folks (or is it?)!
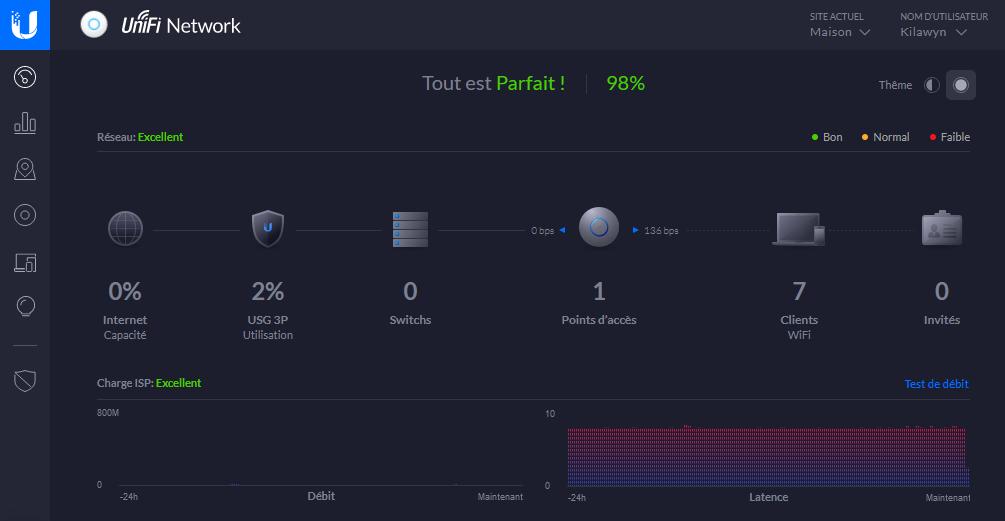
What impressed me the most with UniFi’s ecosystem is the user friendly and easy configuration process. After the installation, everything is maintained by the controller. Including the firmware updates.
Apart from that the performances are excellent. And, if I did not thoroughly benchmark it, the daily usage is convenient (and yes I have gigabit speeds and low latency) and any network change is just one click away.
The quality of the WiFi signal is also excellent. Even in my TV corner which is 3 concrete walls away. I feared that I had to add another mesh Access Point but this wasn’t necessary. So the whole requirements were fulfilled.
The only thing that is still problematic (and I suspect that my Internet provider router is not doing its Router Advertisement correctly) is the IPv6 address delegation.
And migrating the controller is ridiculously easy. In fact the whole procedure lies in a tweet:
I love @ubnt UniFi. Want to migrate your controller?
— Walter Mickael (@MickaelWalter) May 3, 2020
1. Launch the export assistant and download the backup
2. Import site from backup in the new server
3. Launch the migration in the old server
4. Wait 2min
5. Profit
It is that easy. https://t.co/e9MqiZFvrt