OpenCTI #4 - Connectors
Discover OpenCTI in this series. This fourth post will discuss connectors to add, enrich or share data on the platform.
You heard about them in the previous posts on OpenCTI, notably in the administration guide. Now this is the time to dig deeper on what makes the OpenCTI platform so powerful: connectors.
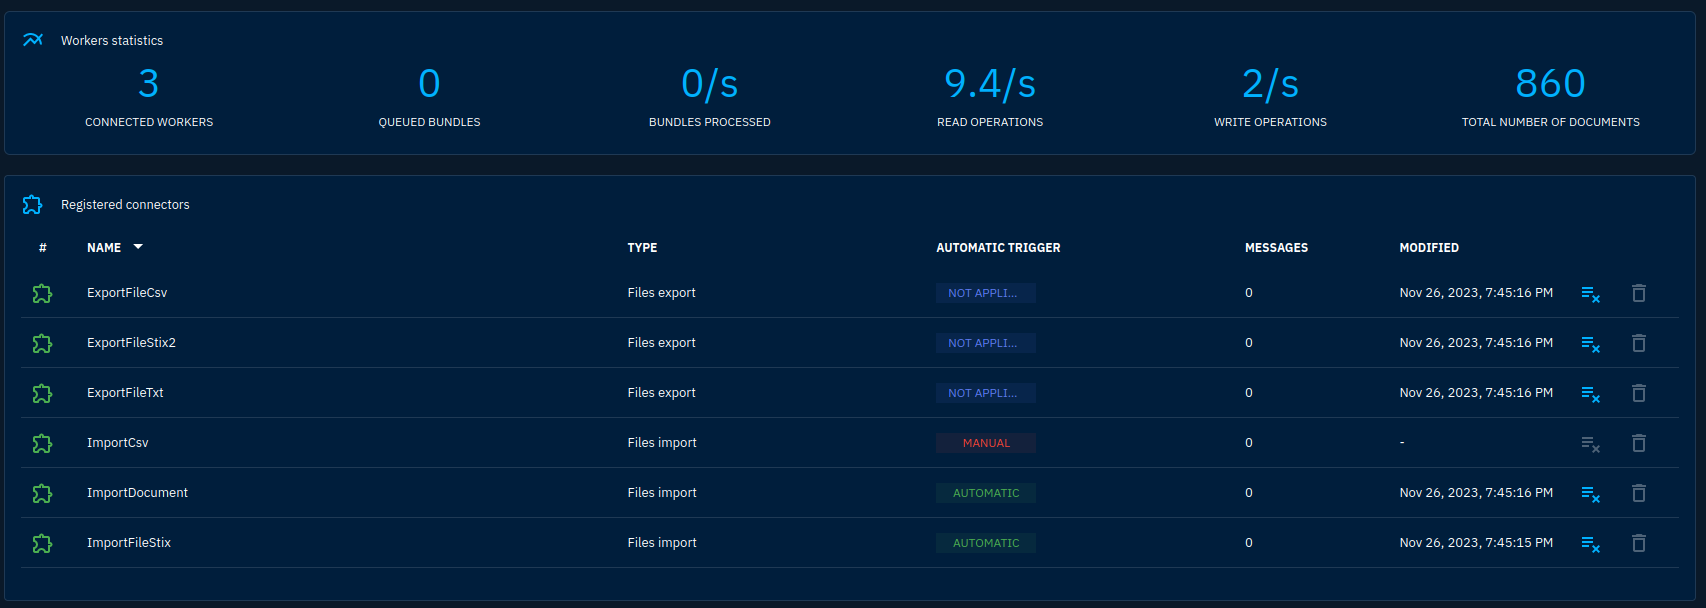
Connectors are little programs that connect to OpenCTI's dedicated API. They can import or export data in bulk and directly change data on the platform. A set of connectors is already defined on the platform by default. You can see them in Data -> Connectors.
Connectors will interact with OpenCTI to keep their state, authenticate and fulfill their role. To keep their state they can use a data slot dedicated to each connector. It can contain a brief JSON document. Most of the time, a connector will keep a cursor or a last run time to only download new data.
It is possible to reset the state of any connector by clicking the associated button in the Connectors interface. The color of the connector at the beginning of the line shows if the connector is still live or not.
Connectors will also have works associated. Works correspond to data that is not completely committed in the platform yet. They can also be controlled from the platform interface, this is useful if one was to hang.
Configure a connector
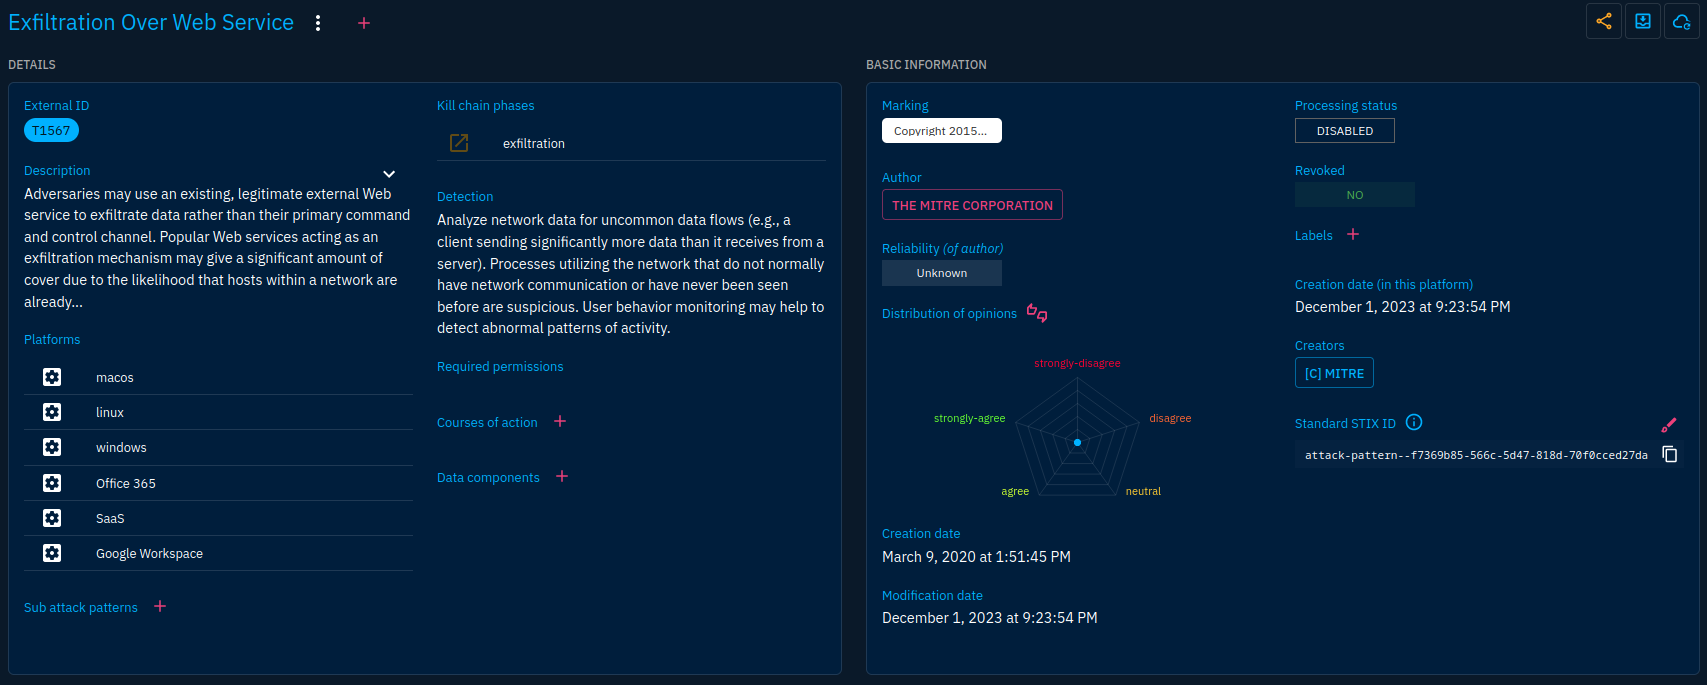
If you adhered to the guide, you do not have yet basic data with which you could work. We can remediate to that by adding the OpenCTI connector (which provides basic data such as country information and not any connection to another OpenCTI instance as one could think) and the MITRE connector (which provides the Att&ck Enterprise framework data).
Let's start with the OpenCTI connector. The same principles will apply with the MITRE connector so this will be let to you as an exercise.
Most of OpenCTI's connectors are available in a unique Github repository. They are grouped by type:
external-import: connectors that automatically fetch data from external sources to feed it into OpenCTIinternal-enrichement: connectors that fetch data from external sources to enrich already existing data. This is typically used by users when clicking the enrichment buttonsinternal-export-file: connectors that allow to export data from OpenCTI to a file. They are triggered when a user asks for an export from the platforminternal-import-file: connectors that allow to import data from a file. They are triggered when a user imports a file into the platformstream: connectors adapting OpenCTI data sharing streams, typically used to send data to tools incompatible with standard feeds (SIEMs, SOARs, ...)
Both the OpenCTI and the MITRE connectors are under the external-import type, so go to external-import -> opencti. You will be greeted by a brief documentation.
The most practical way to run connectors is using Docker. In my deployments I like to have at least 2 stacks: one for OpenCTI and on for its connectors. This way, I don't have to restart OpenCTI everytime I want to update a connector.
Unfortunately, not every connector is well-documented. Most of the time, you'll have to look for parameters in the docker-compose.yml file or even the source code. If we look into the docker-compose.yml file, we'll see parameters not specified into the brief documentation.
Most parameters are self-explanatory. I will only dive in the few that you will find in nearly all connectors:
OPENCTI_URL: the base URL of your OpenCTI platform. In a Docker Stack, it may be more efficient to use the internal Docker hostname (e.g.http://opencti:8000)OPENCTI_TOKEN: the token that will be used by the connector to authenticate against OpenCTI's API, it is provided on the user administration pageCONNECTOR_ID: the connector ID is an UUIDv4 identifier that you have to generate randomly. It uniquely identifies the connector on the platform (in some circumstances you will have several times the same connector running but with different parameters)CONNECTOR_TYPE: specifies the type of the connector. Constant for a given connector to my knowledge (e.g.EXTERNAL_IMPORT)-
CONNECTOR_NAME: human name for the connector. This name will be displayed in the Connectors tab in the GUI CONNECTOR_SCOPE: object types that will be affected by the connector
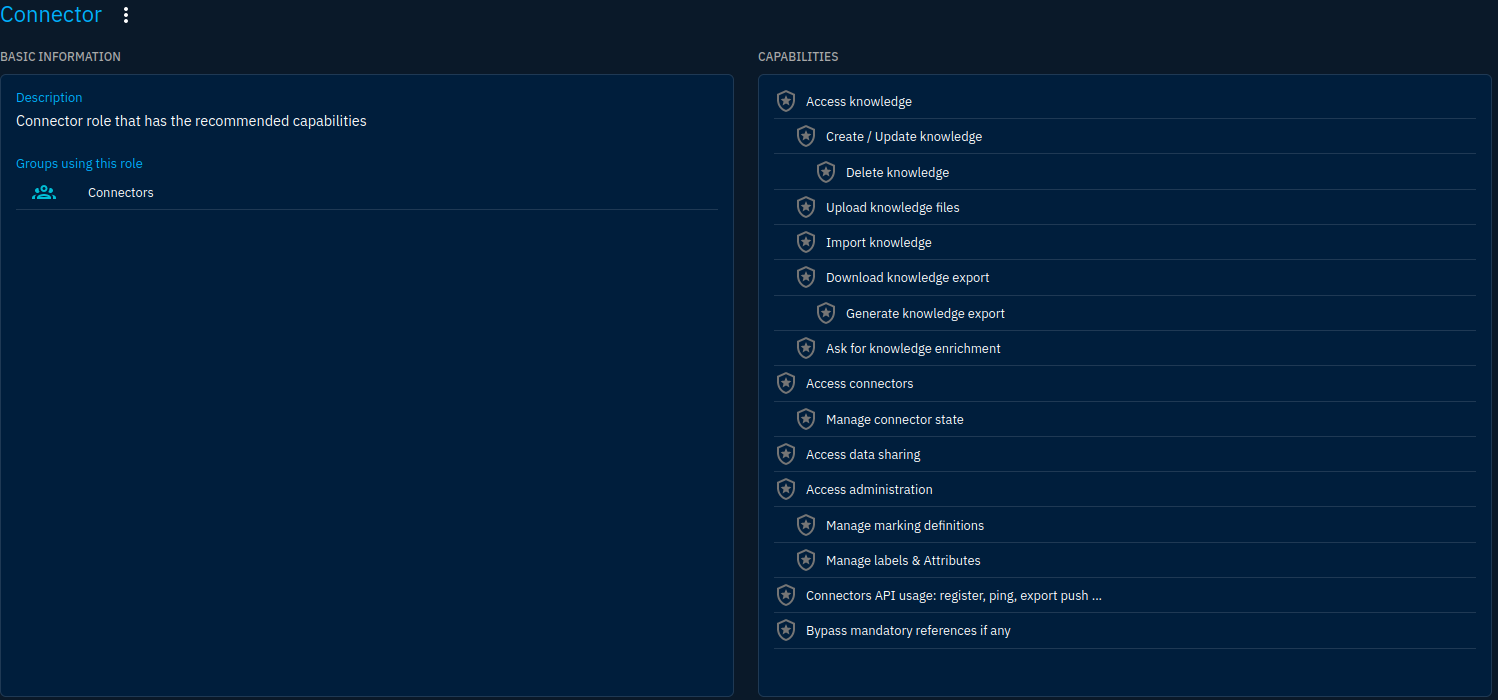
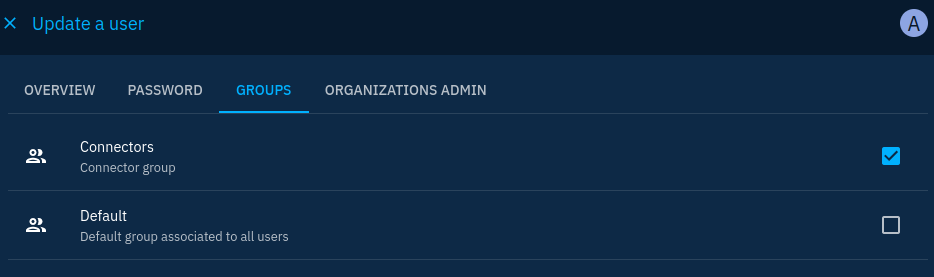
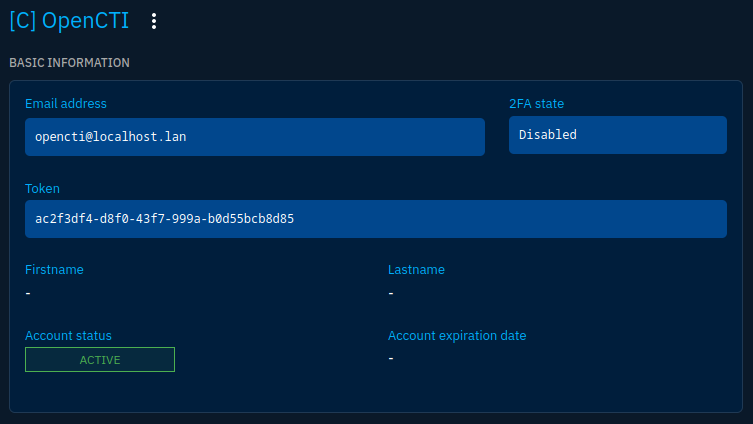
As you see above, we'll need a token to authenticate. A default role and group already exist in the platform for connectors. So let's first create a user a put it into this group (Settings -> Security -> Users):
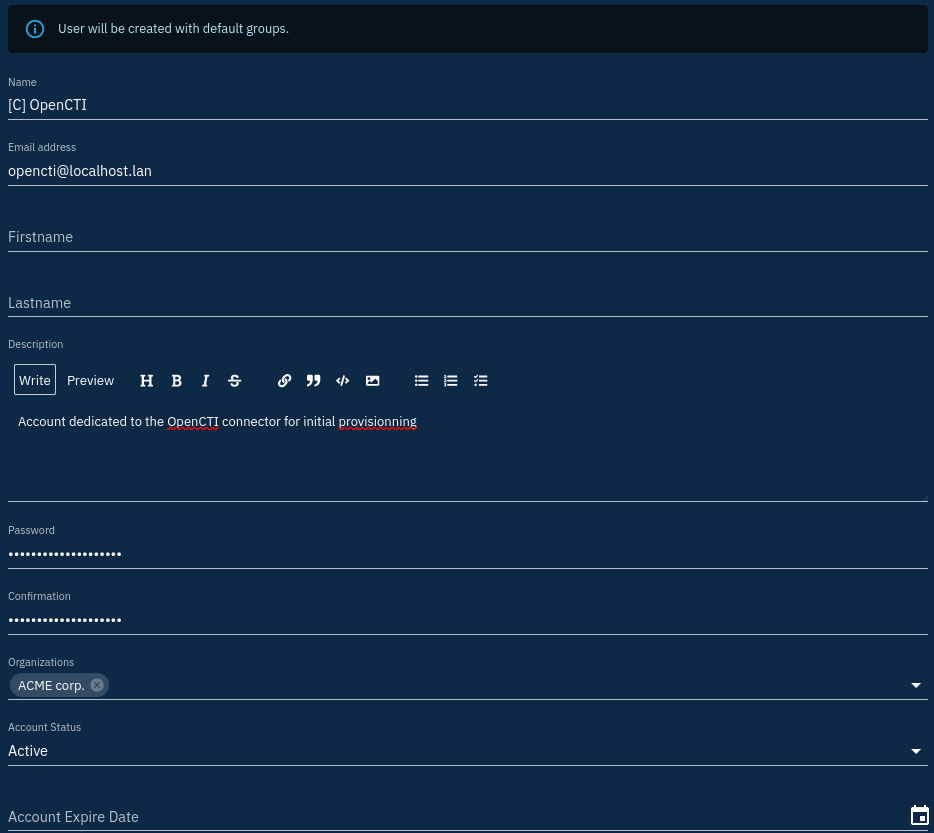
Steps to create a user for a connector
Note that when creating the user there are 3 things to keep in mind:
- The user is first assigned to the default group, you have to modify it to put it into the Connectors group
- You have to set up a password, even if it won't be used: so use a password generator, and forget it
- You'll want to keep a consistent naming convention. I use the
[C]pattern for connectors and[S]for stream access accounts
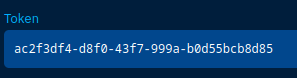
Once the user is created and properly assigned to a group, you will be able to copy its token to use it in the connector configuration:
Let's implement our new connector (for my example, I will use the same stack as the OpenCTI one but remember to put them apart in production). I'll add the following configuration:
connector-opencti:
    image: opencti/connector-opencti:5.11.13
    environment:
      - OPENCTI_URL=http://opencti:8080
      - OPENCTI_TOKEN=ac2f3df4-d8f0-43f7-999a-b0d55bcb8d85 # The token from the user page
      - CONNECTOR_ID=cfc052aa-a068-46bc-8202-6aeae5ede425 # A random UUIDv4 you should generate for each new connector
      - CONNECTOR_TYPE=EXTERNAL_IMPORT
      - "CONNECTOR_NAME=OpenCTI Datasets"
      - CONNECTOR_SCOPE=marking-definition,identity,location
      - CONNECTOR_CONFIDENCE_LEVEL=100
      - CONNECTOR_UPDATE_EXISTING_DATA=true
      - CONNECTOR_RUN_AND_TERMINATE=false
      - CONNECTOR_LOG_LEVEL=error
      - CONFIG_SECTORS_FILE_URL=https://raw.githubusercontent.com/OpenCTI-Platform/datasets/master/data/sectors.json
      - CONFIG_GEOGRAPHY_FILE_URL=https://raw.githubusercontent.com/OpenCTI-Platform/datasets/master/data/geography.json
      - CONFIG_COMPANIES_FILE_URL=https://raw.githubusercontent.com/OpenCTI-Platform/datasets/master/data/companies.json
      - CONFIG_REMOVE_CREATOR=false
      - CONFIG_INTERVAL=7 # In days
    restart: always
Relaunch the stack and... that's it! Your new connector should appear under Data -> Connectors:

It will process messages just after launch because it will automatically download and import datasets. You can see its status by clicking on it:
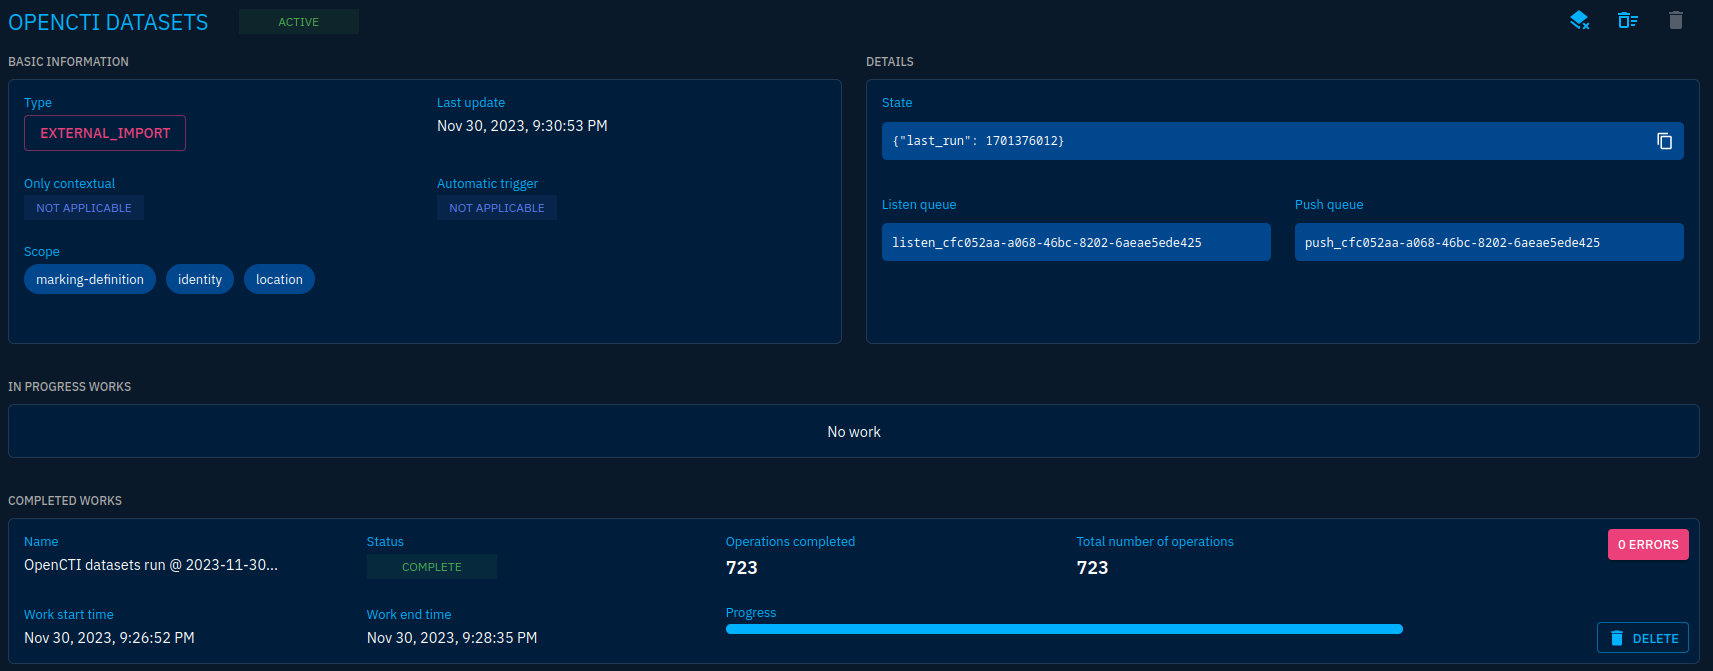
On the screenshot above you'll see:
- The connector type
- The State of the connector (here the last run date)
- The queues used for data processing (each connector has dedicated queues)
- The works in progress and the ones finished. Here we have one specifying that we processed 723 objects
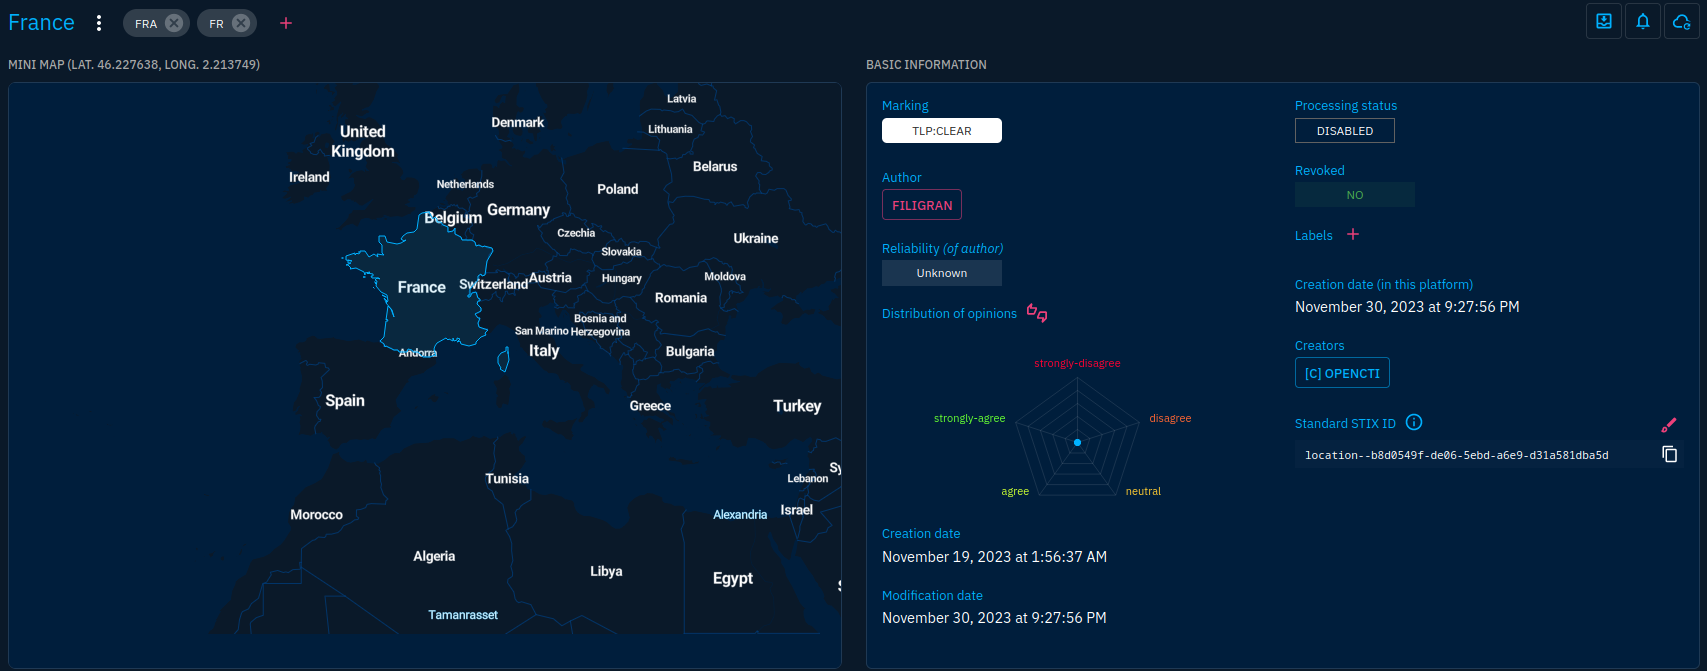
Getting back in the platform objects you will see populated:
- Some well-known organizations
- World regions
- Countries
- Sectors
We still miss basic data such as attack patterns, well-known intrusion sets and malware. Those can be provided using the MITRE connector. I will let you install it as an exercise. Just know that this is an external-import connector.
Connector baseline
Along the OpenCTI and MITRE connectors, there is a set of connectors I like to think as a baseline to get a first dataset and basic enrichment features on which you can work later:
- Obviously: OpenCTI and MITRE
- CVE (
external-import): imports the whole National Vulnerability Database. A way to get all existing CVEs into the vulnerability database - CISA (
external-import): gets more details on vulnerabilities that are known to be exploited from the Know Exploited Vulnerabilities catalog - Malpedia (
external-import): gets knowledge on malware and intrusion sets - google-dns (
internal-enrichment): allows to automatically resolve domain observable by adding the associated IP address observables and theresolves-torelationships - All import and export connectors provided in the official
docker-compose.ymlfile
Conclusion
Connectors provide a powerful way to kickstart a platform and automatically ingest, enrich and export data. They can assist you in many ways but take care to carefully select your connectors and their configuration as they have a significant impact on the integrity of the data.
Next, we'll get back into the platform to discover how to handle containers such as reports and groupings.